ABB Drive Parameters setting – here you can find all parameter for programming. With the help of these parameter you can easily program drive. All list of parameter like actual signal, motor data, limit parameter and fault function.
This guide provides information on ABB drive parameters setting, including instructions on how to set up, configure, and operate ABB drives.
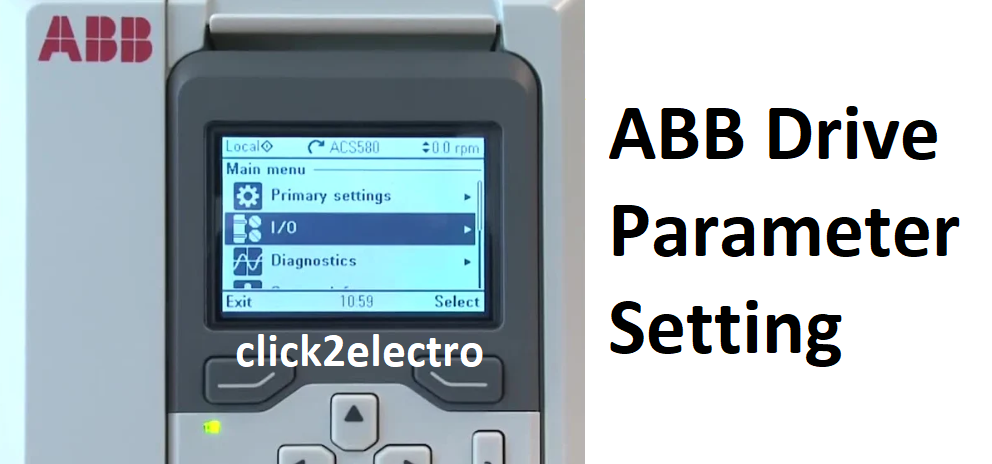
ABB drives are the maestros of industrial motion, meticulously controlling the speed and torque of AC motors. But their power lies not just in their hardware, but also in their programmability. This guide will walk you through the essential steps of programming your ABB drive, transforming it from a generic machine to a customized workhorse.
Before You Begin:
- Safety First! Always ensure the drive is disconnected from power before programming. Double-check for residual voltage using a voltmeter.
- Gather Information: Locate your specific ABB drive model and its user manual. This will be your holy grail for detailed parameter descriptions and programming specifics.
- Choose Your Weapon: Decide on your programming method. Most drives offer a basic control panel, while the Drive Composer PC tool provides advanced functionalities.
Step 1: Accessing the Drive Parameters:
- Control Panel: Locate the navigation buttons (often arrow keys and an "Enter" button) on the control panel. Use them to navigate through the menu options until you reach "Parameters."
- Drive Composer PC Tool: Connect your PC to the drive using the appropriate communication cable. Launch the Drive Composer software and establish communication with your specific drive model.
Step 2: Configuring Motor Data (Essential for Safe Operation):
- Navigate to the "Motor Data" section. This will typically involve parameters like:
- Motor Rated Power (kW or HP): Input the motor's specified power rating.
- Motor Rated Voltage (VAC): Enter the voltage the motor is designed for.
- Motor Rated Current (A): Specify the motor's full-load current rating.
- Refer to your motor's nameplate for these values and ensure they match exactly. Incorrect data can lead to motor damage or malfunction.
Step 3: Defining Control Settings (Tailoring Performance):
- Locate the "Control Settings" section. Here, you'll configure how the drive responds to commands:
- Start/Stop Commands: Choose how the drive will initiate and stop operation (local control panel, external signal, etc.).
- Speed Reference: Select the source for the desired motor speed (keypad input, external analog signal, etc.).
- Acceleration/Deceleration Rates: Set the desired ramp-up and ramp-down times for smooth motor starts and stops.
Step 4: Setting Up Faults (Protecting Your Equipment):
- Navigate to the "Faults" section. Here, you can define how the drive reacts to potential issues:
- Overcurrent: Set a limit for motor current to prevent overheating.
- Overvoltage/Undervoltage: Define thresholds for abnormal voltage levels.
- Motor Overload: Choose the drive's response to excessive motor load (fault trip, alarm, etc.).
Step 5: Selecting Your Control Method (Optimizing Performance - Optional):
For basic applications, the drive may come pre-configured with a control method. However, some models offer options like:
- Scalar Control: Suitable for constant torque applications (fans, pumps). It adjusts motor voltage and frequency proportionally to achieve the desired speed.
- Vector Control: Provides precise control over both speed and torque. It utilizes motor feedback for optimal performance in dynamic load scenarios.
Consult your user manual for detailed explanations of available control methods and their programming steps.
Step 6: Saving and Verifying (Securing Your Work):
Once you've configured the desired parameters, save your settings to the drive's memory.
Step 7: Power Up and Test (Bringing it to Life):
Reconnect power to the drive, ensuring all safety precautions are met. Following the user manual's instructions, initiate a test run to verify the drive functions as programmed.
