Siemens V20 drive showing Fault F1? Learn what the Overcurrent fault means, how to test your motor and cables, and how to safely reset your SINAMICS V20 VFD.
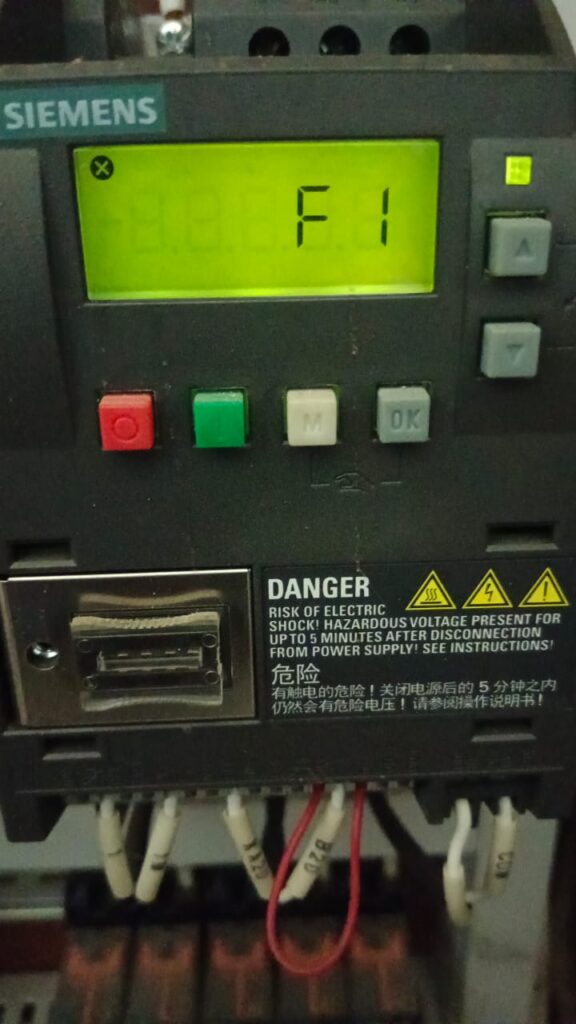
The Siemens SINAMICS V20 is a compact, reliable drive, but like any VFD, it is designed to shut down instantly if it detects an electrical anomaly. If your display is showing Fault F1, the drive has tripped on an Overcurrent condition.
An F1 fault means the current being drawn by the motor has exceeded the drive’s protective limit. This is a “hard” trip designed to prevent the drive’s internal components (IGBTs) from burning out. Here is the step-by-step process to identify whether the problem is your motor, the cabling, or the drive itself.
What Typically Causes an F1 Trip?
Before diving into the hardware, consider these common triggers:
- Short Circuits: A short in the motor terminal box or the wiring between the drive and the motor.
- Ground Faults: Insulation breakdown in the motor windings causing a path to the earth.
- Mechanical Stalling: A jammed load (like a clogged pump or a stuck conveyor) forcing the motor to draw locked-rotor current.
- Ramp-Up Issues: Acceleration time is too fast for the inertia of the load, causing a “current spike” during start-up.
- Drive Failure: The internal output power module of the V20 has failed.
Step-by-Step Troubleshooting Procedure
Warning: Always ensure the main power is disconnected and wait at least 5 minutes for the DC link capacitors to discharge before touching any wiring.
1. Isolate the Drive
To determine if the V20 is the source of the fault or just the victim, you must disconnect the load:
- Disconnect the motor leads (U, V, and W) from the drive output terminals.
- Power up the drive and attempt a reset.
- If the drive still shows Fault F1 while the motor is disconnected, the internal power electronics of the V20 have failed. It will likely require replacement.
- If the fault clears and the drive stays in standby, the VFD is healthy—the issue is downstream in your cables or motor.
2. Test Your Motor and Cabling
If the drive passed the isolation test, check the external components:
- Check for Shorts: Measure the resistance between phases (U-V, V-W, U-W). They should all be balanced.
- Check for Grounds: Use a multimeter to check for continuity between each phase and the ground. Any reading indicates a dead short to ground.
- Megger Test: If you have an insulation tester, perform a Megger test on the motor cables and the motor itself to ensure the winding insulation hasn’t broken down under voltage.
3. Check Application Settings
If the wiring tests perfectly, the issue may be an aggressive acceleration setting:
- Check Parameter P1120 (Ramp-up time): If your machinery is heavy or has high inertia, increasing this value can prevent the F1 trip during start-up.
- Motor Data (P0304 – P0311): Double-check that your motor nameplate data (Voltage, Current, Frequency, Power) matches exactly what is programmed into the V20. Incorrect data will cause the internal current model to calculate incorrectly.
How to Reset Fault F1
After you have corrected the mechanical jam or repaired the wiring, you can acknowledge the fault in one of these ways:
- Using the Keypad: Press the red [Reset] key (or the Hand/Off/Auto button depending on configuration).
- Digital Input: Toggle the digital input programmed as the “Fault Reset” signal.
- Power Cycle: Turning the power off and back on will reset the fault (only do this after you are certain the short circuit has been cleared).
Summary Advice
If you keep getting an F1 fault only when the motor is under load, but the motor tests fine, check for “hidden” mechanical issues—like a worn gearbox or a bearing starting to seize. These are often the cause of intermittent current spikes that lead to an F1 trip.